Back to top

F2 Platform

Ultrasonic Quality Inspection Platform

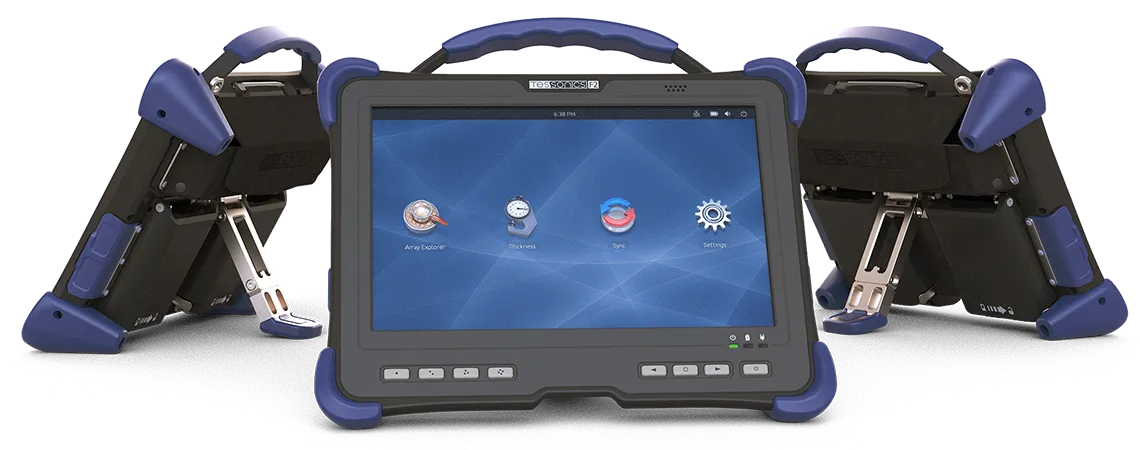
F2 is an ultrasonic device designed for NDE and quality control for various applications, including resistance spot welds, and adhesive joints. Using the unique technology of multi-channel ultrasonic matrix arrays, this portable and simple-in-operation device is capable of producing internal ultrasonic C-scan images of defects and structures.

Our algorithms evaluate the quality determining features that can be compared to predefined specifications. To further improve the operator’s experience, our software assists in making decisions in automatic or semi-automatic mode, guides through the inspection routines with easy to understand graphics, stores the record of the inspected parts and integrates into a larger infrastructure with centralized inspection planning and reporting.
RSWA software
ABIS software
Features The F2 Platform is configurable as:
RSWA Resistance Spot Weld Analyzer
ABIS Adhesive Bond Inspection System
The built-in electronics supports:
  • Probes with built in identification system
  • Unrestricted matrix element counts
  • Replaceable probe cables
  • Single-frame and continuous live data acquisition modes
  • The infrastructure solutions supplied with the platform include: planning and managing the routine inspections, data synchronization, reporting, and integration with existing customer systems. Application
  • RSWA Mode: 2T and 3T welded stacks
  • ABIS Mode: Adhesion bonded stacks
  • Materials: Steel and Aluminum; 0.6 – 2.4 mm plate thicknesses
  • Coatings: Bare, coated, and painted
  • Processor
  • Apollo Lake Intel Pentium N4200
  • Quad Core, 1.1 GHz, up to 2.5 GHz
  • Display
  • 10.1” IPS panel, 1920 × 1200
  • Resistive touch screen
  • Replaceable screen protector
  • Memory
  • 4 GB DDR3L
  • Storage
  • 256 GB SSD
  • Power
  • 2 × Smart Li-ion batteries, 14.4 V, 49 Wh
  • Average battery run time: 9–12 hours
  • DC adapter: 100–240 V, 65 W
  • Operating System
  • Windows 10 IoT 64-bit
  • Communications
  • WLAN 802.11 a/b/g/n/ac
  • Bluetooth®
  • External Ports
  • 2 × USB 2.0, 1 x HDMI, 1 x DC-In
  • Temperature Range
  • Operational:
  • 5º – 40º C (41º – 104º F)
  • Storage:
  • -20º – 60º C (-4º – 140º F) Mechanical
  • Weight with batteries: 2.3 kg (5 lb)
  • Dimensions:

  • 27.6 × 22 × 5.7cm (10.9 × 8.6 × 2.3 in)
  • Adjustable stand
  • Machined aluminum enclosure
  • SOFTWARE

    RSWA

    Resistance Spot Weld Analyzer
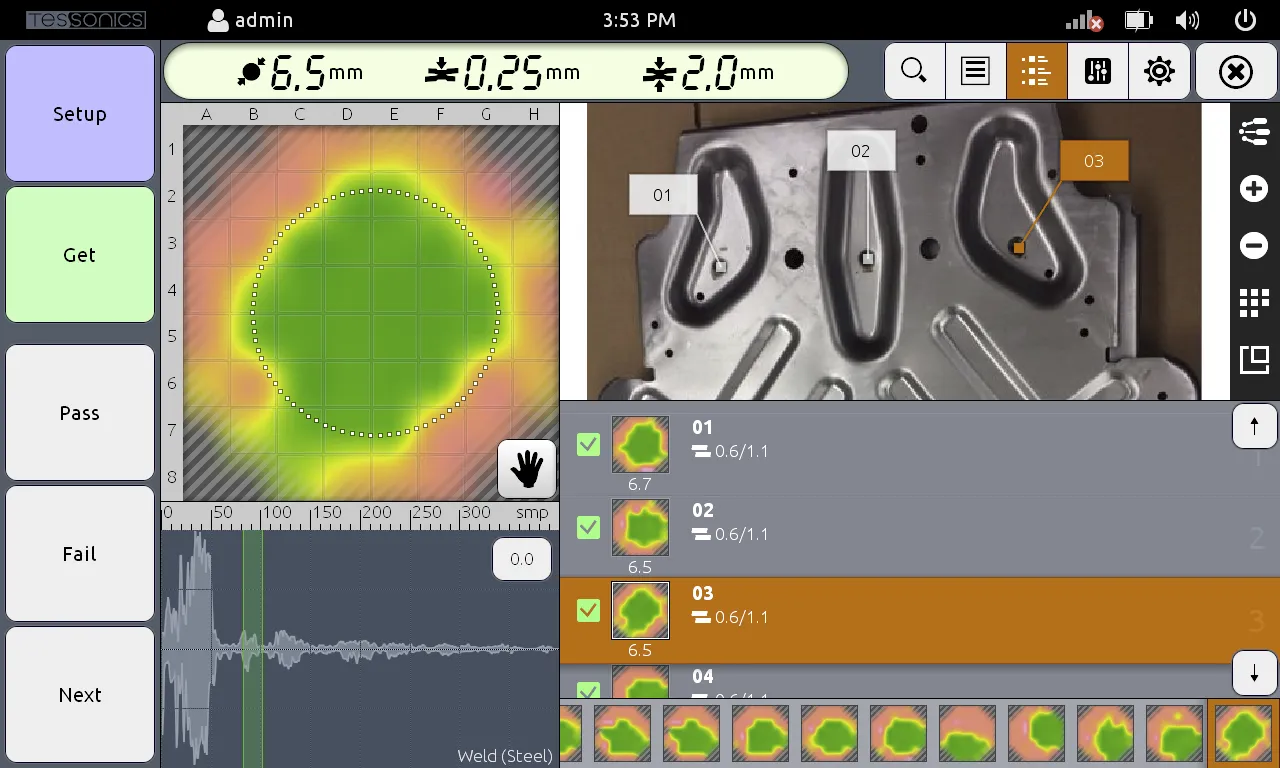
    RSWA is an ultrasonic device designed for quality control and NDE of resistance spot welds. RSWA is as a portable and simple-in-operation device capable of producing images of spot weld’s internal structures. In addition to live on-screen image, this device performs estimation of the nugget diameter and compares it with predefined minimum nugget requirements.

    Using the unique technology of multi-channel ultrasonic matrix transducer, RSWA collects data from the surface and from the internal structures of the nugget. Special algorithms use this data to reconstruct the image of the spot weld and estimate the average diameter of the nugget area in real time.
    Features
  • Single-frame and continuous data acquisition modes
  • Automatic and manual nugget size estimation
  • Automatic detection of scanning depth inside the metal
  • Two levels of user interface complexity depending on operator skills
  • Built-in reporting system and file storage
  • Application
  • Metal stacks: 2T and 3T; 0.6 – 2.4 mm plate thicknesses
  • Types of materials: mild steel, high strength steel, dual phase ultra high strength steel
  • Coatings: bare, zinc coating (galvanized, galvaneal), e-coating, paint
  • ABIS

    Adhesive Bond Inspection System
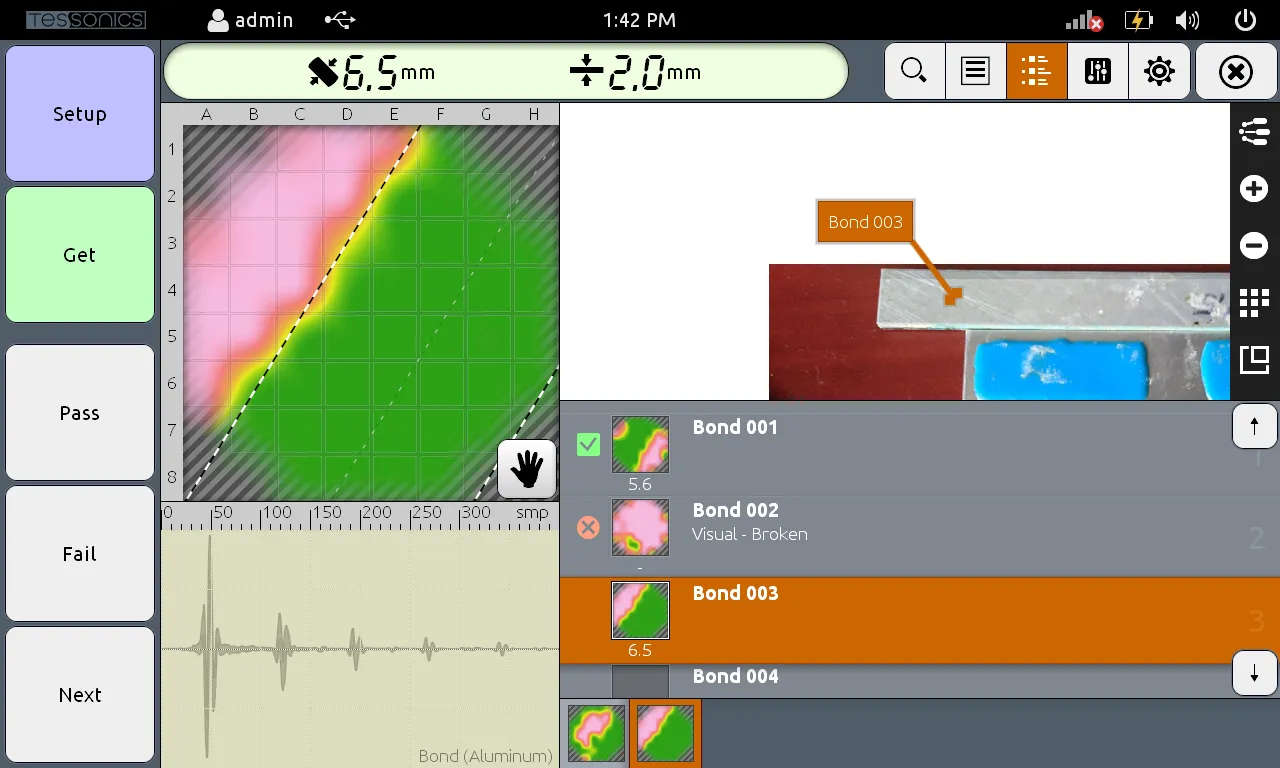
    ABIS is a software extension for our RSWA instrument and was developed to test adhesion bonds, e.g. hem flanges in the automotive industry, non-destructively. The software follows the operating concept of the RSWA-GUI and therefore offers an easy switch-over.

    ABIS displays adhesive coverage in a structure as a so-called C-scan, an planar top-view display. Thus, the operator is quickly able to determine position, orientation and extension of imperfections in their adhesive bond.
    Features
  • Real-time display of A- and C-scans
  • One side access
  • 2-dimensional 10 mm x 10 mm acoustic image of the adhesive coverage
  • Automatic determination of the width of the adhesive bead
  • Lateral resolution: 1 mm
  • Application
  • Metal:
    steel and aluminum; 0.7 - 2.0 mm thicknesses; coated, painted and bare
  • Adhesive:
    0.1 - 1 mm thicknesses; structural and sealant; pre-cured and cured
  • TRANSDUCERS

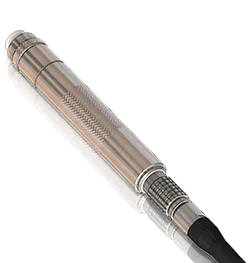
    52 Element Matrix

    Features
  • 15 MHz probe
  • 8 x 8 grid
  • 1.25 x 1.25 mm pitch
  • Application
  • Spot welds: steel and aluminum
  • Adhesive bonding: steel and aluminum
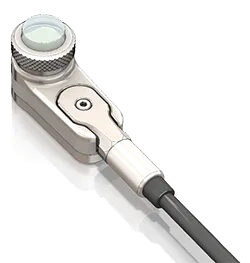
  • 52 Element Pencil

    Features
  • 15 MHz probe
  • 8 x 8 grid
  • 1.25 x 1.25 mm pitch
  • Application
  • Spot welds: steel and aluminum
  • Adhesive bonding: steel and aluminum
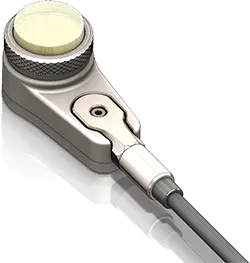
  • 120 Element Matrix

    Features
  • 15 MHz probe
  • 12 x 12 grid
  • 1.25 x 1.25 mm pitch
  • Application
  • Spot welds: steel and aluminum
  • Adhesive bonding: steel and aluminum